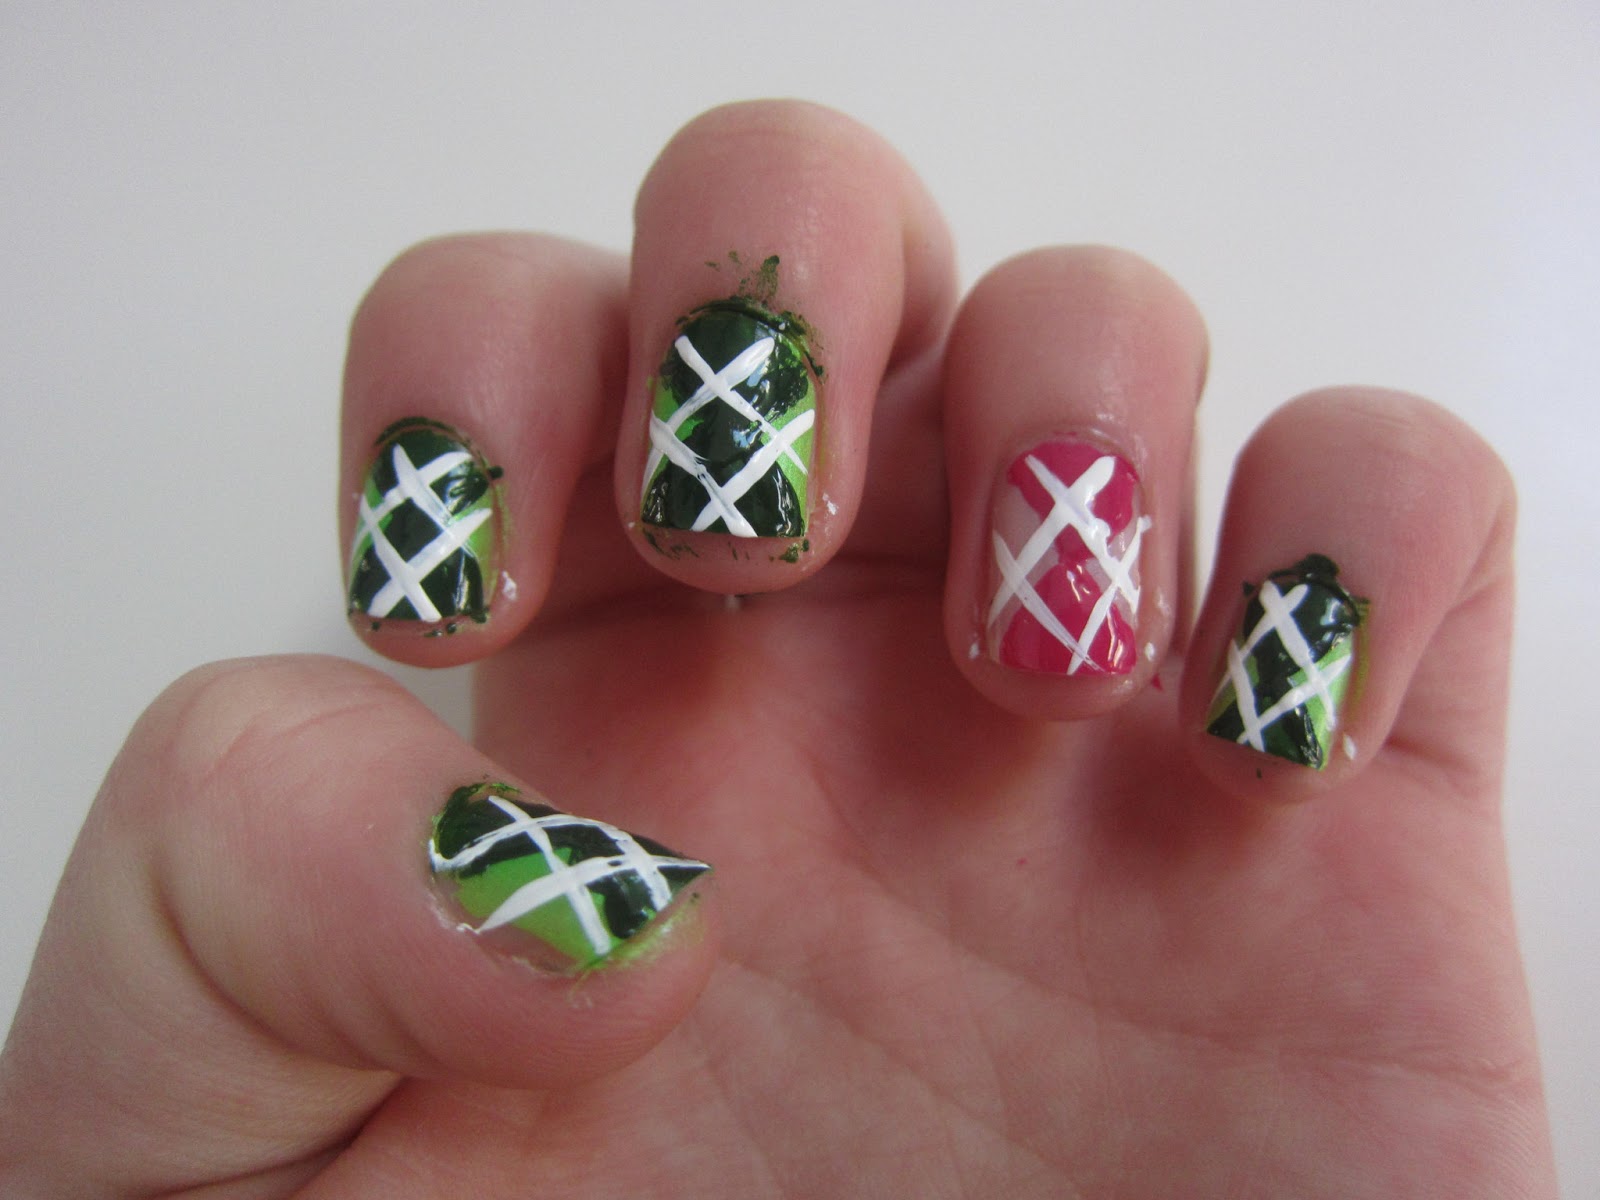
Today I will be sharing a Argyle Nail Art tutorial with you. The one and only CutePolish made this up! This is a bold print that is sure to get noticed! Take a look!
This pattern is simple to create. You need a base color and a color that's darker than your base. My colors are green and the accent nail is pink. Any colors can be used. And forgive my sideways pictures, my blog is quite mad at me ;)
First, apply a base coat and then your base color.
Now create an "x" on each nail. Make sure you are using the darker color.
Fill in the top and bottom triangles with the darker color.
Next, take white nail art and create a small line on the top triangle, going diagonally. Start the line slightly off center.
Use the nail art again to t=do the same thing except in the opposite direction.
Take the white nail art to mirror those steps on the bottom.
Repeat these steps until all the nails are covered.
Finally, add the top coat and clean up messes with nail polish remover. There it is, the gorgeous design you have been waiting for! Enjoy!
That's all for today! Remember to check out my Facebook page here. "Likes" are greatly appreciated! Until the next time,
Be bold, bright, and gorgeous!
Gabby


No comments:
Post a Comment